Beginner’s Guide to Affinity Software: Learn the Basics Step by Step (2026)
Dive into detailed guides and tips on Affinity Designer, Photo, and Publisher to elevate your creative projects, whether you're just starting or refining your skills.
5/8/20242 min read
If you are looking for a powerful yet affordable alternative to Adobe software, then Affinity is the perfect choice for you. Whether you want to design logos, edit photos, or create professional layouts, Affinity software gives you everything — without monthly subscriptions.
You can download our Ebook by clicklig here 👉 "The Affinity Publisher Manual V2 - A Step-by-Step Beginners Guide"
In this beginner-friendly guide, we’ll explain what Affinity software is, its main tools, and how you can start learning it easily — inspired by a popular YouTube tutorial that introduces Affinity in a simple way.
What Is Affinity Software?
Affinity is a professional creative software suite developed by Serif and now owned by Canva.
Unlike Adobe products, Affinity tools are one-time purchase software, making them extremely popular among freelancers, beginners, and small businesses.
Affinity Software Includes:
Affinity Designer – Vector design & illustration
Affinity Photo – Professional photo editing
Affinity Publisher – Layout & publishing
Affinity Universal License – Access to all apps
Why Choose Affinity Over Adobe?
Many creators are switching from Adobe to Affinity — here’s why:
✅ No monthly subscription
✅ Lifetime license
✅ Lightweight & fast performance
✅ Professional-grade tools
✅ Works on Windows, macOS & iPad
If you're just starting your design journey, Affinity is budget-friendly and beginner-safe.
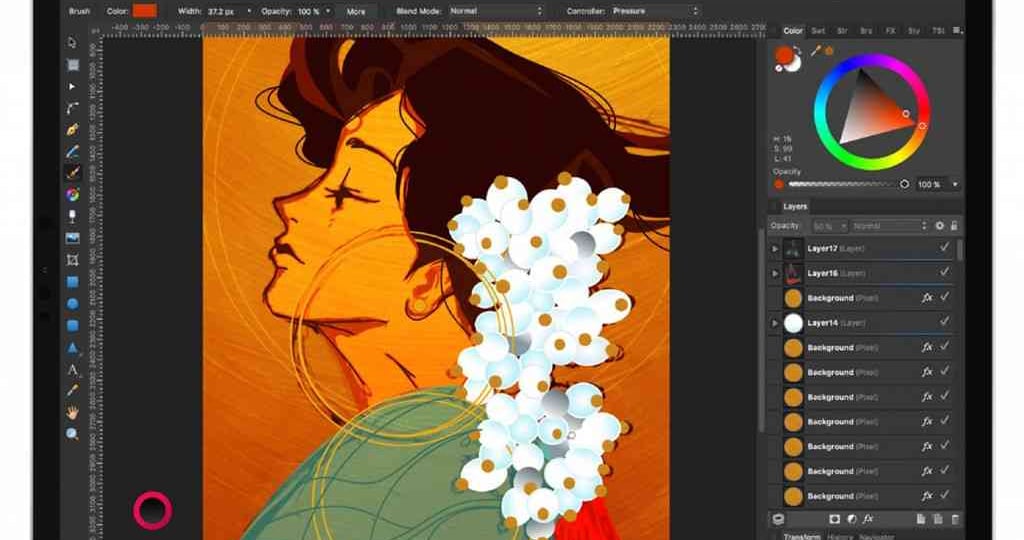
Understanding the Affinity Interface (Beginner View)
When you open any Affinity app, you’ll notice:
🔹 Tools Panel
Located on the left side — used for selecting, drawing, painting, and editing objects.
🔹 Studio Panels
On the right side — includes Layers, Color, History, Effects, and more.
🔹 Context Toolbar
Appears on top — changes dynamically based on the selected tool.
👉 Tip: Don’t try to learn everything at once. Explore one tool at a time.
Essential Tools Every Beginner Must Learn
Here are the most important tools you should focus on first:
🖱 Move Tool
Select objects
Resize and rotate elements
✏ Pen & Shape Tools
Draw custom shapes
Create logos and icons
🖌 Brush Tool (Affinity Photo)
Paint digitally
Retouch photos
🅰 Text Tool
Add titles and paragraphs
Create social media graphics and posters
These tools alone are enough to create 90% beginner projects.
Creating Your First Project in Affinity
Step-by-Step:
Open Affinity software
Click New Document
Choose size (Web, Print, Social Media)
Start designing using shapes & text
Export as PNG, JPG, or PDF
That’s it — your first Affinity project is done 🎉
Best Learning Tips for Affinity Beginners
✔ Follow YouTube tutorials step by step
✔ Practice daily (even 15 minutes helps)
✔ Learn shortcuts slowly
✔ Recreate simple designs
✔ Don’t fear mistakes — undo is your best friend 😉
Who Should Learn Affinity Software?
Affinity is perfect for:
Beginners in graphic design
Freelancers
YouTubers & content creators
Bloggers
Small business owners
Students
If you want professional results without professional costs, Affinity is ideal.
Final Thoughts
Affinity software is one of the best creative tools available today for beginners and professionals alike. With simple tutorials and regular practice, you can quickly master design, photo editing, and publishing — all without expensive subscriptions.
👉 Bookmark AffinityTutorial.online — we’ll be posting step-by-step tutorials, tips & tricks, and beginner guides regularly.